But I’m not prepared to eliminate rice from our menu altogether, because I personally find it hard to get through more than a week or so without a bowl of steamed rice. When we were holidaying in Victoria this June, I needed a fix after about 10 days, so the moment we arrived in Melbourne, we went across Bourke Street to Flower Drum for dinner. The H and I had 2 bowls of steamed rice at dinner that evening, at AUD4.00 each. Ludicrous to pay AUD16.00 to eat steamed white rice, but it never tasted so good!
Anyhow, these days we eat a lot of Russet Potatoes at home. Baked Jacket Potatoes are in high demand, topped with sour cream, bacon bits and chives. It’s so easy to do – wrap in foil and bake at 240 degrees celsius for approximately 45 minutes – that I am tempted to feed this to them at every meal. My skinny 6-year old keeps going at those jacket potatoes with sour cream long after the meal is over for everyone else.
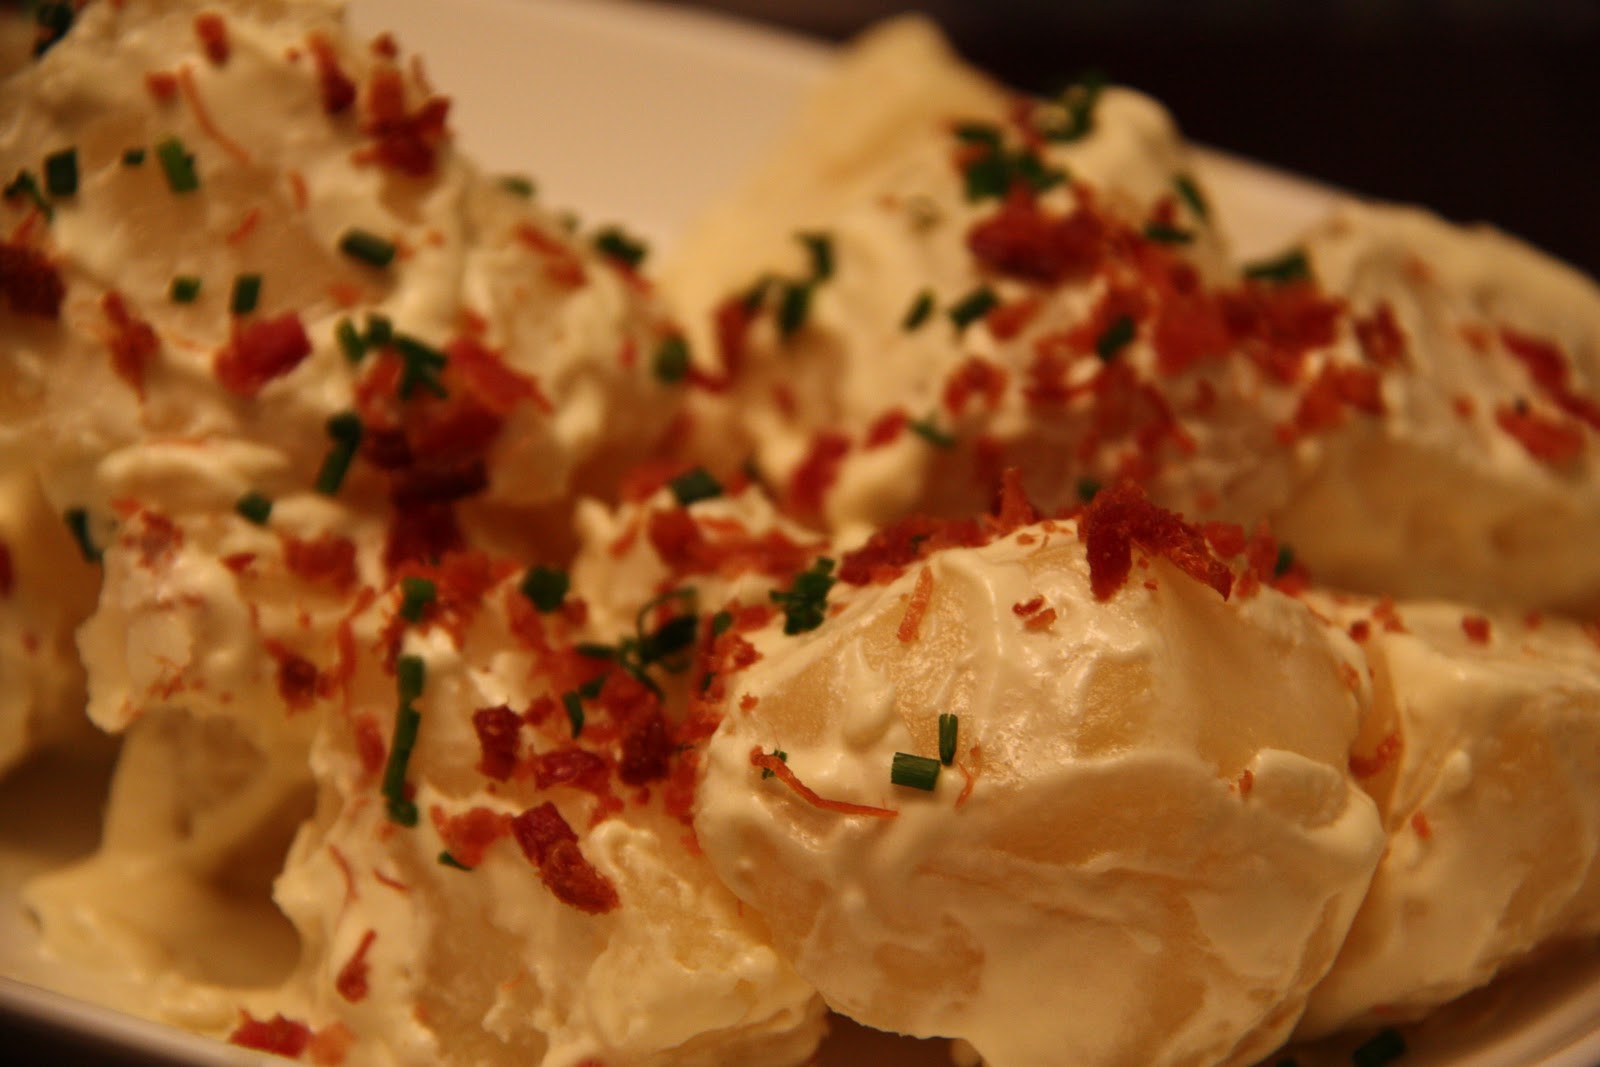 |
| Boiled Russet Potatoes with sour cream and bacon bits |
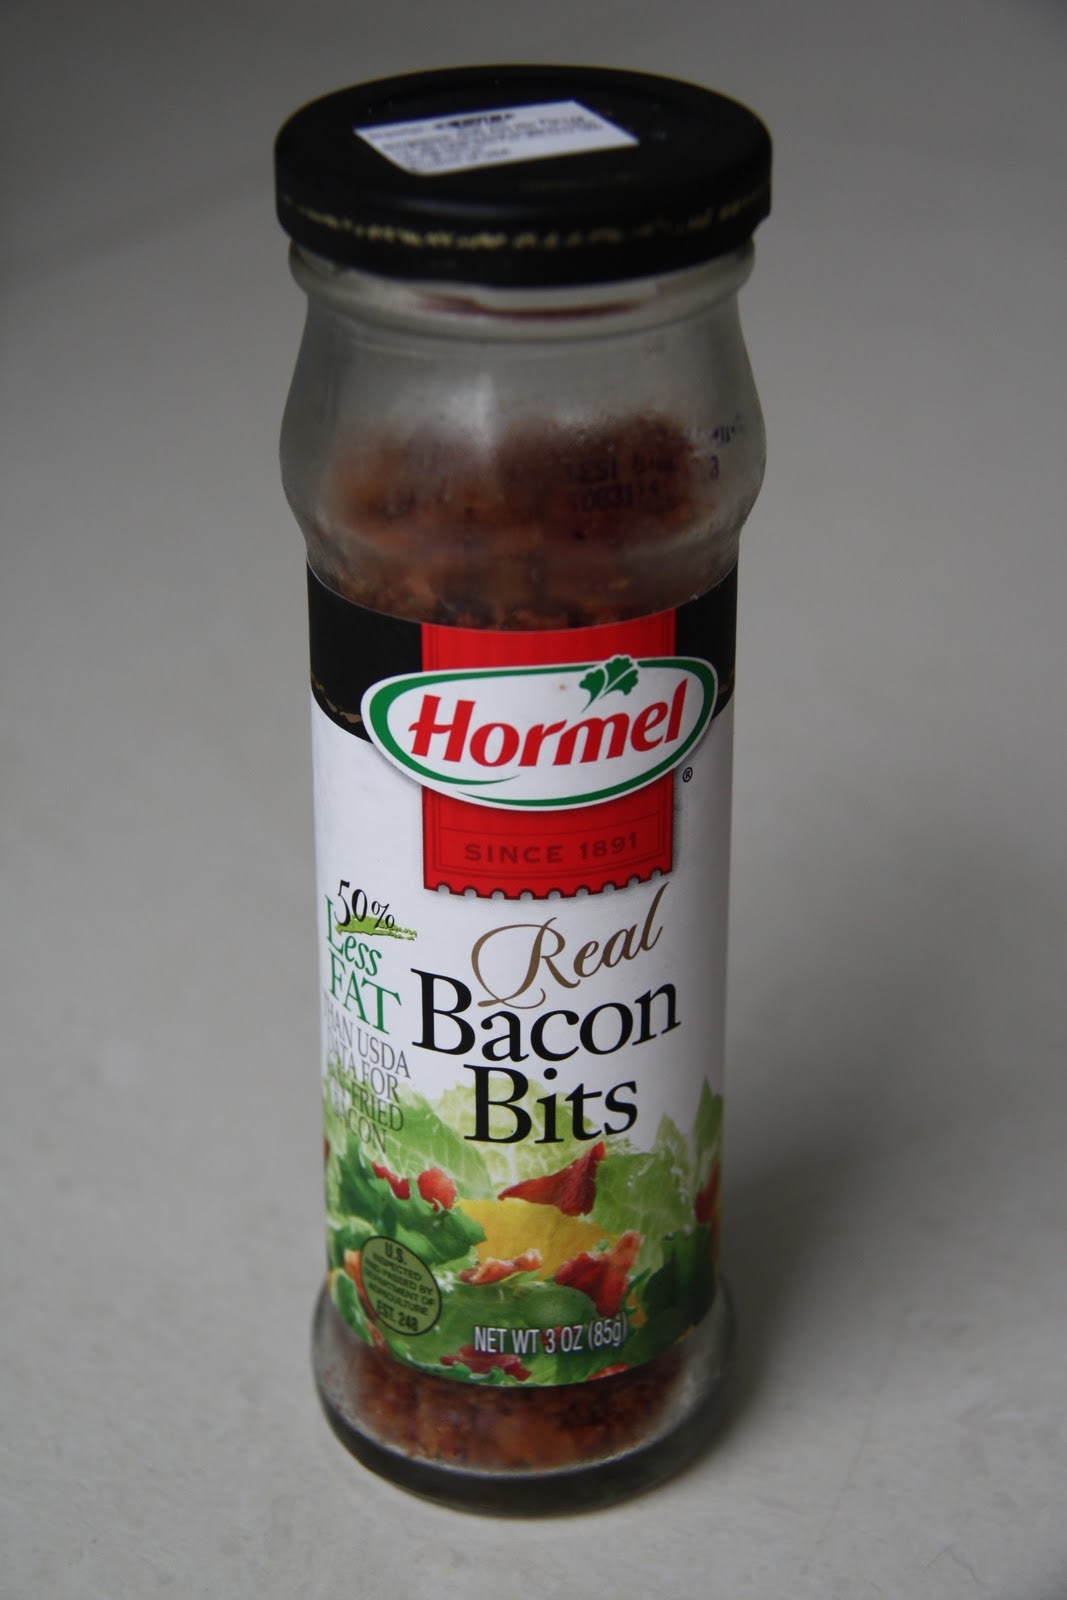
If I don’t have 45 minutes, I boil the potatoes instead. I put the potatoes in a pot and cover with water, add perhaps 2 tsp of salt to the water for every 6 potatoes, then boil for approximately 15 minutes till cooked. Then I peel, quarter and toss them in sour cream, top with bacon bits and chives (or spring onion). I prefer to make my own bacon bits, but if I don’t have time or don’t have any bacon in the fridge, then I use Hormel Real Bacon Bits. I stay clear of those bottles of purported bacon bits which taste nothing like bacon.
 |
| French Fries |
First of all, use Russet Potatoes. Peel and cut them into 1/4 inch thick batons (or keep the skins on if you like, just as I’d done in the picture above. The skins are nutritious too). Rinse them about 3-4 times thoroughly in water, changing the water until the water turns clear. Then put them in a big bowl, cover with cold water and ice cubes, and place in the fridge for at least an hour or overnight.
Heat cooking oil at low-medium heat in a big pot or wok (the oil should be about 3-inches deep).
Remove potatoes from the fridge, drain off the water and pat them dry thoroughly with a tea towel.
Turn up heat to medium-high and add fries, a handful at a time, and cook in the hot oil till they turn blond, soft and limp. Then remove and drain on paper towels and let it rest for about 10 minutes at least.
When ready to serve, re-heat oil on medium-high, then put the potatoes into the hot oil and fry again, until golden brown, puffed and rigid.
Transfer to tray or platter lined with paper towels and sprinkle with salt, then serve.
Well, no deep-frying is happening in my kitchen at the moment. Our helper is on Christmas home leave, and I am averse to too much cleaning up.
Recently we had some friends come over for dinner, and one of them, KS, began to sautee in butter some of the boiled potatoes we had. I’d originally intended to just toss them in melted butter and some chopped fresh herbs. But KS’s version was a hit with the kids and we’ve had it a couple of times since. For this, I prefer to use Red Potatoes or what they call “New Potatoes” in the supermarket.
Recipe for Boiled and Sauteed Potatoes
Boil Potatoes with skins on till cooked, then peel and cut into halves or quarters.
Heat a tablespoon of butter in a skillet or pan on low-medium heat, and once foam starts to subside, put potatoes in and sautee, one side at a time until browned on each side.
Add salt to season, then sprinkle with fresh chopped Italian Parsley (or fresh Dill if you like).
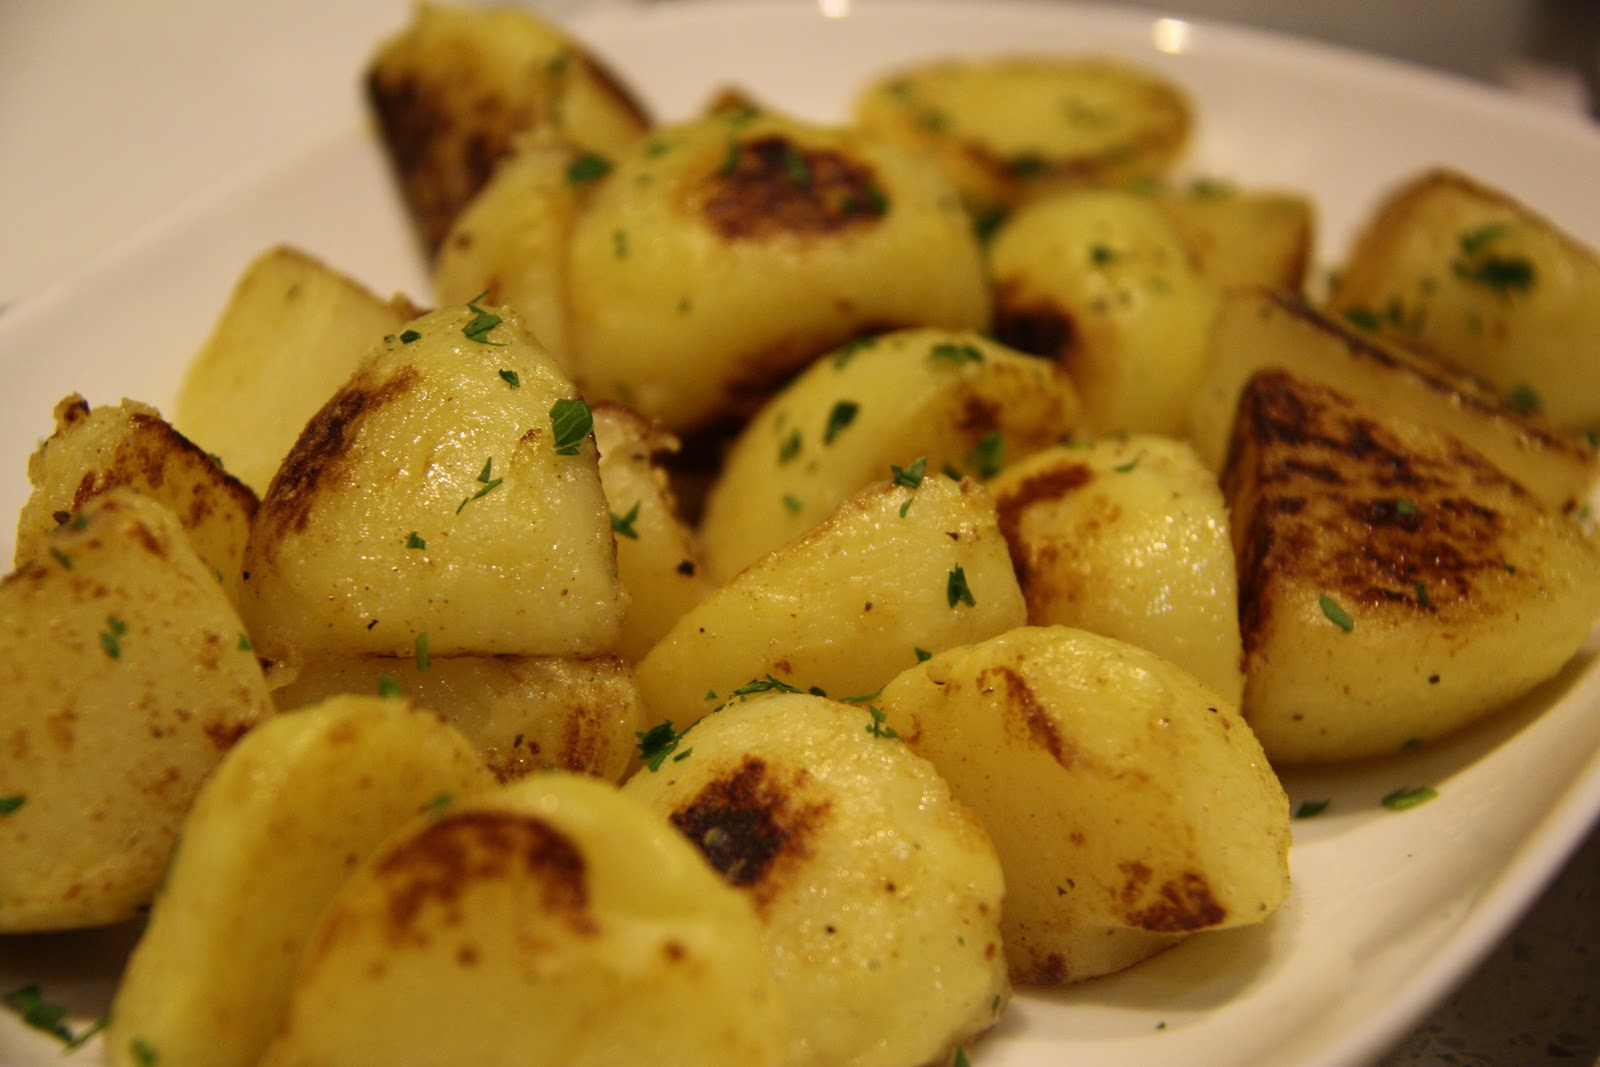 |
| Boiled and Sauteed Potatoes |